How to Effectively Repair a Hole in Your Wall
Expert Drywall Repair Tips for Perfectly Patching Holes in Your Walls
Whether from moving furniture, door handles banging into drywall, or just everyday accidents, holes in walls are a common issue in homes and businesses alike.
Fortunately, repairing these imperfections is a straightforward process that can restore the integrity and aesthetics of your walls. In this guide, we'll walk you through the steps to
fix holes in walls, ranging from small dings to larger punctures, ensuring a smooth, professional finish.

Understanding the Basics of Wall Repair
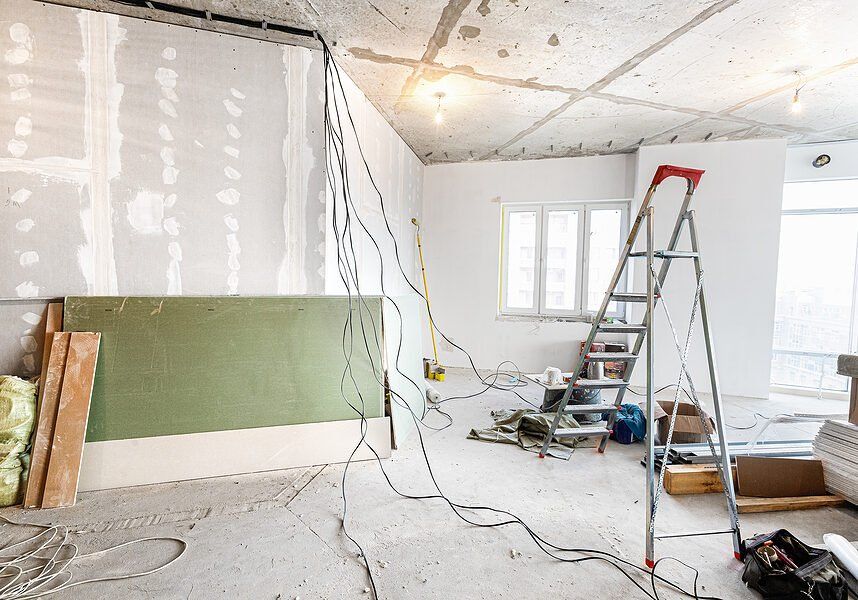
Before diving into the specifics of hole repair, it's essential to understand what your wall is made of. Most interior walls are constructed from drywall, which is durable but prone to damage. Whether it's a hole in wall from an accidental impact or a deliberate modification gone wrong, the repair principles remain consistent.
Assessing the Damage
The first step in fixing a hole in the wall is to assess the extent of the damage. This assessment will determine the materials and tools you will need.
Smaller holes, like those left by nails or screws, require minimal effort and basic materials. Larger holes, such as those that might result from an accident or structural damage, will require more extensive repairs.
Tools and Materials Needed
To repair a drywall hole in wall, you will need the following:
Spackle or joint compound
Putty knife
Sandpaper or a sanding block
Paint and primer
Drywall patch or mesh (for larger holes)
Drywall tape
Make sure to have these tools on hand before you begin the repair process. Our company offers a complete kit with all the necessary materials, ensuring you have high-quality, consistent tools and compounds to achieve the best results.
Step-by-Step Guide to Fixing Drywall Holes
Prepare the Area: Clean the hole and surrounding area to remove any debris and dust. This preparation ensures the spackle or joint compound adheres properly.
Apply the Patch: For small holes, you can apply spackle directly into the hole, using a putty knife to smooth it out. For larger holes, you may need to use a drywall patch or mesh to cover the hole first, securing it with drywall tape.
Seal and Smooth: Once the patch is in place, apply a layer of joint compound over the patch, extending beyond the edges of the patch to blend it into the existing wall. Allow it to dry thoroughly, then sand it smooth.
Prime and Paint: Apply primer to the repaired area to ensure a uniform paint job. Once the primer is dry, paint over the area to match the rest of your wall.
To avoid holes in drywall here are some maintenance tips.
Finishing Touches
Achieving a seamless repair might require a few coats of spackle or joint compound, especially if the wall is textured.
Patience is key—allow each layer to dry fully and sand it smooth before applying the next. The final texture and paint will help camouflage the repair, making the hole in the wall virtually undetectable.
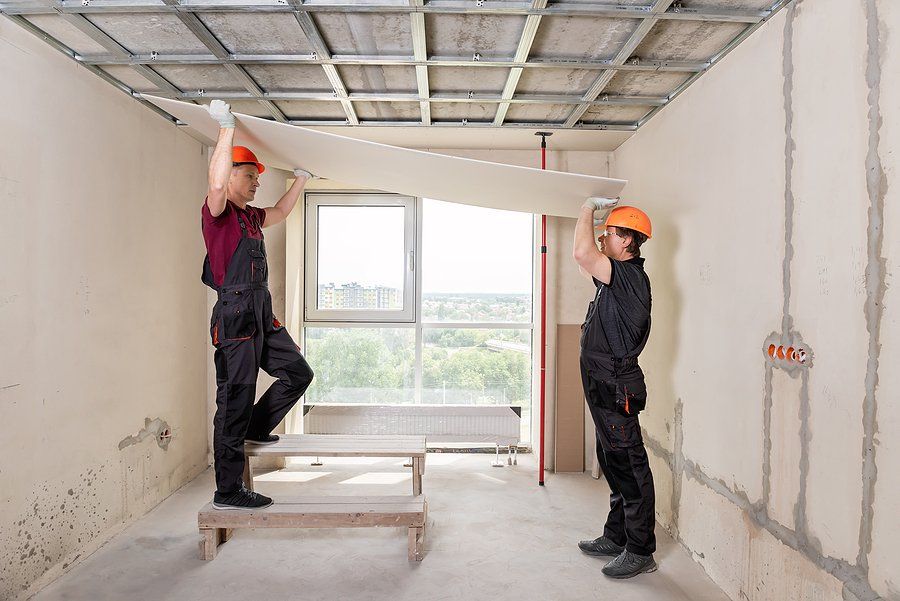
Professional Services for Perfect Results
While DIY repairs are achievable, for perfect results, especially with larger or more visible holes, professional services are recommended.
Our company specializes in
hole in wall repair, offering expert services that guarantee your walls are restored to pristine condition without any signs of previous damage.
Conclusion: Restoring Walls with Expertise and Ease
Repairing holes in your walls doesn't have to be a daunting task. Whether you're dealing with a small puncture from moving furniture or a more significant gap caused by an accident, the right tools and techniques can make the process simple and effective.
By following the step-by-step guide outlined above, you can achieve a seamless repair that restores the beauty and integrity of your walls.
However, for those larger or more visible damages, or when you simply want assurance of a flawless finish, turning to professionals like us can make all the difference.
At our company, we specialize in drywall repair and are dedicated to providing the highest quality service. We ensure that every repair is not only functional but also aesthetically pleasing, blending perfectly with the rest of your wall. Trust us to handle your wall repair needs and enjoy a stress-free restoration of your space.